
The AeroPress doesn’t look like much — a plastic tube with a plunger. But this $35 device can produce coffee that rivals brewers costing ten times as much, and it does it in under two minutes. It’s the Swiss Army knife of coffee brewing: depending on your recipe, it can approximate pour over clarity, French press body, or something close to espresso concentration. No other single brewer is that versatile.
How the AeroPress Actually Works
The AeroPress is often described as a “pressure brewer” similar to espresso. That’s a stretch. Espresso machines generate 9 bars of pressure. The AeroPress generates maybe 0.35-0.75 bar — just enough to push water through the coffee bed faster than gravity alone.
What the AeroPress really does is combine short immersion (grounds sit in water for 60-120 seconds) with gentle pressure filtration (you push the water through a filter). It’s a hybrid: the immersion gives you body and full extraction, the pressure speeds things up, and the paper filter gives you clarity.
This hybrid approach is why competition winners can produce wildly different results from the same device. At the World AeroPress Championship, winning recipes have ranged from 11g of coffee with 200g of water at 80C to 35g of coffee with 250g of water right off the boil. The device accommodates an absurdly wide range of parameters.
Why the AeroPress Deserves a Spot in Your Kitchen
Speed. A full brew takes 1-3 minutes. The actual press is 20-30 seconds. If you’re a “I need coffee before I can function” person, this is your brewer.
Forgiveness. The short brew time means you’re unlikely to overextract. The paper filter catches fines and oils that would make a sloppy cup in a French press. It’s hard to make genuinely bad AeroPress coffee.
Travel-ready. It’s plastic, it’s light, it fits in a backpack. I’ve brewed AeroPress coffee in hotel rooms, at campsites, and at the office. All you need is hot water and ground coffee.
Clean cup with real body. Paper filter means no sediment and no grit, but the immersion + pressure gives you more body than a standard pour over. You get the clarity of filtered coffee with the richness of a steeped brew.
Easy cleanup. Pop the cap, push the plunger to eject the puck, rinse. Thirty seconds.
Paper vs. Metal Filters: A Real Choice
The AeroPress ships with paper filters, but metal filters are a popular upgrade. This isn’t just about preference — it fundamentally changes what ends up in your cup.
Paper filters trap coffee oils (including cafestol, which raises LDL cholesterol) and fine particles. You get a clean, bright cup with high clarity. Flavors read as more distinct and separated. This is the default and what most people will prefer.
Metal filters let oils and fine particles through. You get more body, a heavier mouthfeel, and a slightly “rounder” flavor profile — closer to what a French press produces. The trade-off is some sediment at the bottom of your cup and the cafestol passing through.
My recommendation: start with paper. Once you know what you like, try a metal filter and see if you prefer the added body. Some people stack a paper filter on top of a metal one for a middle ground.
Method 1: Standard (Upright) — The Everyday Brew
This is the reliable daily driver. Quick, clean, hard to mess up.
Recipe:
- Coffee: 15g
- Grind: Medium-fine (like table salt; Baratza Virtuoso ~10-14)
- Water: 200g at 85-92C (185-198F)
- Total time: ~2 minutes
Steps:
-
Prepare the filter. Place a paper filter in the cap and rinse with hot water. This removes papery taste and helps the filter seal.
-
Assemble and add coffee. Screw the cap onto the chamber, place it on your mug, add 15g of ground coffee. Shake gently to level.
-
Add water and stir. Pour 200g of water, start your timer, and stir for 10 seconds to ensure all grounds are wet and extraction is even.
-
Insert the plunger. Place it on top to create a seal (this prevents dripping), but don’t press yet.
-
Steep for 60 seconds.
-
Press slowly. Push the plunger down with steady, even pressure over 20-30 seconds. Stop when you hear the hiss of air. If pressing feels difficult, your grind is too fine.
-
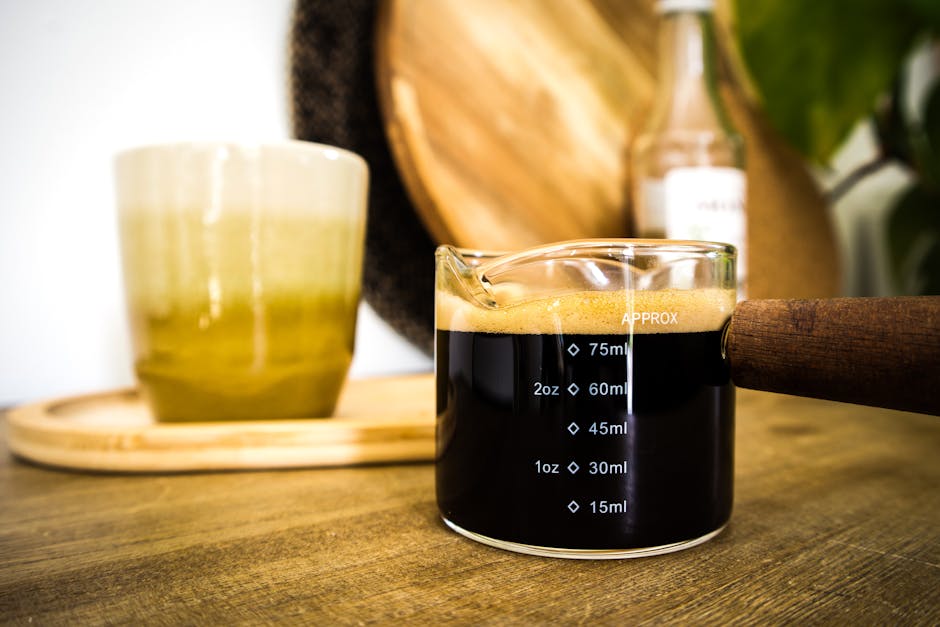
Optional: dilute. The concentrate you just made is strong. Add 50-100g of hot water to taste. This “bypass” technique is actually used by many competition winners — brew concentrated, then dilute to your preferred strength. It gives you a cleaner cup than trying to brew at full volume.
Method 2: Inverted — For Maximum Control
The inverted method prevents any liquid from dripping through during the steep, giving you complete control over brew time. The trade-off: you have to flip the device, which involves hot coffee and a “please don’t spill” moment.
Recipe:
- Coffee: 16g
- Grind: Medium-fine
- Water: 220g at 92-96C (just off the boil)
- Total time: ~2 minutes
Steps:
-
Set up inverted. Insert the plunger about 2cm into the chamber. Flip upside down so the open end faces up.
-
Add coffee. Pour 16g of ground coffee into the inverted chamber.
-
Bloom (optional but recommended). Add 50g of water, swirl gently, wait 30 seconds. This pre-wets the grounds and improves extraction consistency.
-
Add remaining water. Pour to 220g total. Stir gently for 10 seconds.
-
Attach the filter cap. Place a rinsed paper filter in the cap, screw it on, and press down slightly until liquid just reaches the filter.
-
Flip at 0:50. Place your mug upside down on top of the cap. Grip both firmly. Flip in one confident motion. Don’t hesitate.
-
Press slowly by 1:50. Steady pressure, 20-30 seconds.
The inverted method typically produces a slightly fuller-bodied, richer cup because the grounds stay fully immersed for the entire steep. It’s worth the flip.
Temperature: Go Hotter Than the Old Advice
You’ll see a lot of AeroPress guides recommending 175-185F (80-85C). That advice originated from Alan Adler himself, who designed the device to brew at lower temperatures for reduced bitterness.
For dark roasts, that range still works well. But for light and medium roasts — especially specialty single origins — go hotter. 85-96C (185-205F) will give you better extraction and more flavor complexity. The short brew time prevents the overextraction that higher temperatures would cause in longer methods. For a deeper look at the science behind brewing temperature, see our guide to ideal coffee brewing temperature.
Many World AeroPress Championship winners use water right off the boil. The combination of hot water + short contact time + fine grind gives maximum extraction without bitterness.
| Roast Level | Temperature | Why |
|---|---|---|
| Dark | 80-85C / 175-185F | Prevents overextraction of already-developed bitter compounds |
| Medium | 85-92C / 185-198F | Good balance of extraction and smoothness |
| Light | 92-100C / 198-212F | Dense beans need heat to extract properly |
Grind Size: The AeroPress’s Secret Weapon
Most brew methods have a narrow grind window. The AeroPress doesn’t. You can use anything from fine (near espresso) to coarse (near French press) and get good results — you just adjust steep time and water volume to compensate. For a full breakdown of grind sizes across all methods, our coffee grind size guide is the place to start.
- Fine grind + short steep (45-60s): Concentrated, intense, espresso-like. Best diluted with hot water.
- Medium-fine + standard steep (60-90s): The all-purpose sweet spot. Clean, balanced, full-flavored.
- Coarser grind + long steep (3-5 min): Mellower, lower acidity, more French press-like character.
If your coffee tastes sour, grind finer or steep longer. If it tastes bitter, grind coarser or steep shorter. The AeroPress responds quickly to adjustments.
The Bypass Technique: How the Pros Do It
One of the most common competition approaches: brew a small, concentrated AeroPress shot and dilute it with hot water to drinking strength. This isn’t laziness — it’s physics.
When you brew concentrated (high coffee-to-water ratio, fine grind, short steep), you get very even extraction because the water saturates quickly and uniformly. Adding clean water afterward brings the strength down to where you want it without the uneven extraction risks of trying to brew a full cup in one pass.
Try this: Brew 15g of fine-ground coffee with 100g of water for 60 seconds. Press. Add 100-150g of hot water. Taste the difference compared to brewing with 200-250g of water directly. The bypass version will often taste cleaner and more defined.
For a single person wanting a clean, quick cup: AeroPress. For multiple people wanting a rich, full-bodied brew: French press. Both are excellent.
Competition Recipes Worth Trying
The World AeroPress Championship has produced hundreds of published recipes. Here are two approaches from different ends of the spectrum:
The “classic” competition style (concentrated + bypass):
- 18g coffee, fine grind
- 90g water at 80C
- Stir 10 seconds, steep 60 seconds, press 30 seconds
- Dilute with 110g of water at 80C
The “long steep” approach:
- 30g coffee, coarse grind
- 200g water at 92C
- Steep inverted for 4 minutes
- Press into cup, add 50g hot water if desired
The wildly different approaches that win championships tell you something important about the AeroPress: there is no single “right” recipe. The device is a framework. Use it however it tastes best to you.
Frequently Asked Questions
- Should I use the inverted AeroPress method or the standard method?
- Standard method is easier and less prone to accidents (the inverted method risks hot coffee spills if the seal slips). The flavor difference is minimal — both produce excellent coffee. Inverted gives you slightly more control over steep time, but standard with a longer pre-steep achieves similar results more safely.
- How fine should I grind coffee for AeroPress?
- Medium to medium-fine — roughly the texture of table salt. Finer than drip but coarser than espresso. Adjust based on steep time: shorter steeps (1 minute) benefit from finer grinds, longer steeps (2-3 minutes) work better with medium grinds. If the press is too hard to push, your grind is too fine.
- Can I make cold brew with an AeroPress?
- Yes — use a coarse grind, room temperature water, and steep for 12-24 hours (inverted method works best for this). The result is a concentrated cold brew that you can dilute with water or milk. It's a small batch, but the AeroPress's paper filter produces a cleaner cold brew than most immersion methods.
- How many cups of coffee can an AeroPress make at once?
- One concentrated serving (about 8 oz when diluted). The chamber holds roughly 250ml of water. For multiple cups, brew a concentrate with less water and a higher coffee dose, then dilute each serving to taste. It takes about 2 minutes per brew, so making 3-4 cups sequentially is still faster than most methods.
- Why do World AeroPress Championship winners use such different recipes?
- Because the AeroPress is unusually versatile — grind size, water temperature, steep time, pressure, and dilution all interact differently. There's no single 'best' recipe. Championship recipes often push variables to extremes (very fine grinds with very short steeps, or very coarse grinds with longer steeps) to produce distinctive profiles that score well in blind tasting.
Some links above are affiliate links. If you purchase through them, we earn a small commission at no extra cost to you.